Most building owners schedule a cladding inspection because something has already caught their attention. A panel looks like it has shifted. A stain shows up after a heavy rain. A property manager flags a concern during a walkthrough. Others do it as part of regular maintenance, which is the better approach.
In either case, the value of an inspection depends on what it actually covers. Cladding is not just the panels you see. It is a full system of materials working together, and problems in one part are not always visible from the outside. A proper inspection goes beyond a quick visual check. Here is what it should include.
Start With the Paperwork
A good inspection starts before anyone gets on site. This means reviewing available documents like original specifications, installation drawings, past inspection reports, and repair history. Knowing what was installed and how it was designed helps make sense of what is seen on the building. Without that context, it is easy to mistake normal details for problems, or miss issues that should stand out.
A Systematic Look at the Full Building Exterior
The building should be reviewed in an organized way, not just by checking obvious areas. That includes panels, joints, sealant, flashings, edges, and transitions where the cladding meets windows, roofs, or other materials. Areas around penetrations and the base of the system should also be included. The goal is to identify early signs of issues like:
- cracked or failing sealant
- panel movement
- staining from moisture
- corrosion or physical damage
Photos are an essential part of this process. Without them, it is much harder to understand the location and severity of what was found.
Focus on Joints and Flashings
Most cladding problems start at joints and transitions. A proper inspection takes a close look at sealant condition, checking whether it is still flexible, properly bonded, and sized correctly for the joint. Flashings should also be checked for proper installation and detailing. These areas are where water typically enters the system and where small issues can turn into bigger problems over time.
Check for Hidden Moisture
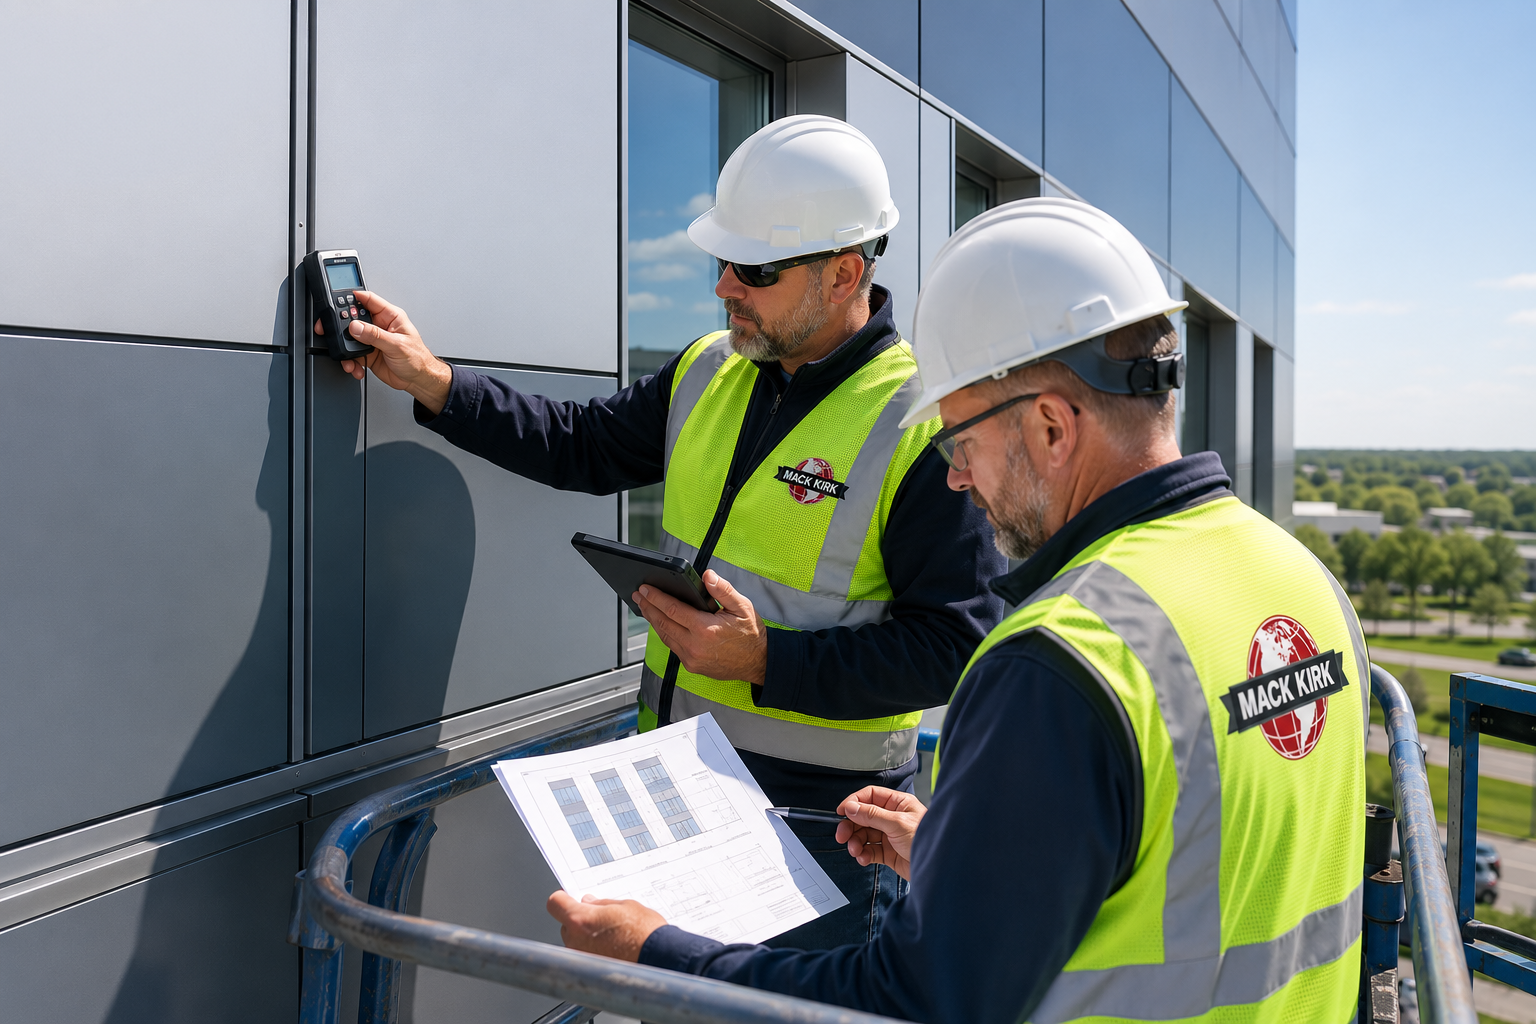
If there are signs that water may have entered the wall, the inspection should go further. This can include using moisture meters to check conditions inside the wall without removing panels. If elevated moisture is detected, the next step may involve opening a small section to confirm what is happening behind the surface.
Review How the System Is Attached
The inspection should also consider how the cladding is supported. That includes checking visible fasteners for corrosion, looking for panel movement that suggests attachment issues, and reviewing any accessible parts of the support structure. For older buildings or those exposed to strong weather events, a more detailed structural review may be recommended.
A Report You Can Actually Use
A good inspection ends with a report that is clear and actionable. It should:
- explain what was found
- include photos
- identify which issues are urgent
- outline next steps
A report without clear priorities or recommendations makes it difficult to plan repairs or budget effectively.
Work With a Team That Understands Cladding Systems
At Mack Kirk, we bring hands-on installation and repair experience to every inspection. That means we understand how cladding systems are built and where problems tend to develop.
If you are unsure about the condition of your building’s cladding or want a clear understanding of what to address first, it may be worth taking a closer look now so you can plan the next steps with confidence.